


Keely’s Kitchen: Chocolate Chip Cookies, Sea Scallops, and Cake!
Classic Chocolate Chip Cookies
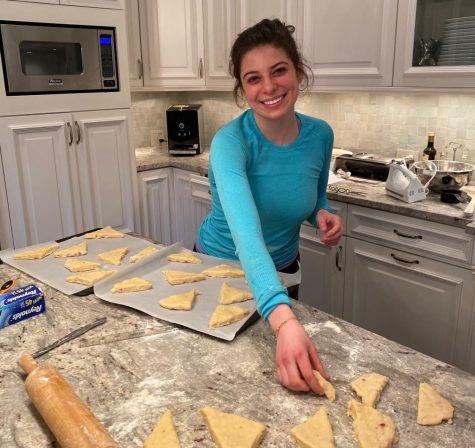
These classic chocolate chip cookies never fail to impress. I recommend setting the cookie dough in the fridge before baking to ensure the cookie is crispy and chewy. I didn’t leave the dough in the fridge long enough, and the cookies were on the cakier side. In addition to adjusting the time the dough sets in the fridge, experimenting with ratios of brown sugar, butter, and white sugar will help produce your desired cookie texture, appearance, and taste. As long as the basic ratios are the same (3 parts flour, 2 parts fat, and 1 part sugar), you can swap individual ingredients within food categories (baking-ratios). To achieve crunchier cookies, use more (or only) granulated sugar than brown sugar and vegetable shortening instead of butter (cookie-chemistry). In order to make lighter and cakier cookies, use more (or only) brown sugar and use butter as the fat (cookie-chemistry). Play around with these ingredients to find your desired chocolate chip cookie, and stay tuned for an original Keely’s Kitchen chocolate chip cookie recipe!
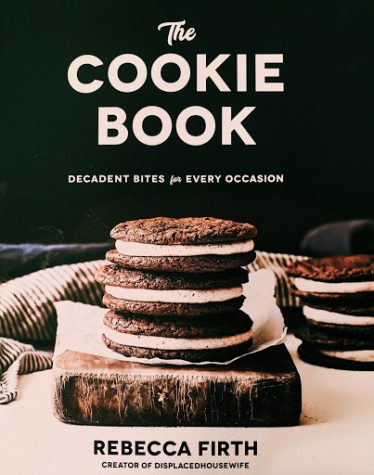
Sea Scallops
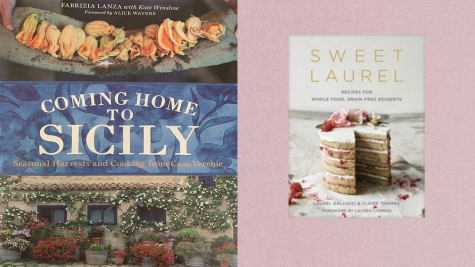
CookBook: Hazan Family Favorites: Beloved Italian Recipes
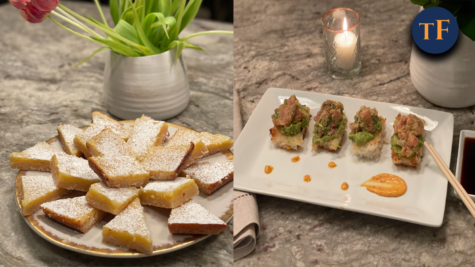
The flavors of parsley and thyme complemented the lightly breaded sea scallops very nicely. The first step of the process is to make the dipping sauce. You can taste and adjust the amounts of parsley, thyme, and lemon juice to fit your preference. Before starting this recipe, make sure you have all the required equipment, including either a grill or a pan grill. If you use a pan grill, make sure that it is large enough to fit the whole skewer so the scallops can lay flat and cook evenly on the pan. Keep an eye on the scallops, and if you need to, gently press down on them so the whole scallop makes contact with the grill. Depending on how well done you like scallops, adjust the time you keep them on the grill. I squeezed a bit more lemon on the grilled scallops and served them right away. They were absolutely delicious and flavorful—this is definitely a quick recipe I will make again in the future.
Pineapple Upside Down Cake
CookBook: The Good Housekeeping Illustrated Cookbook
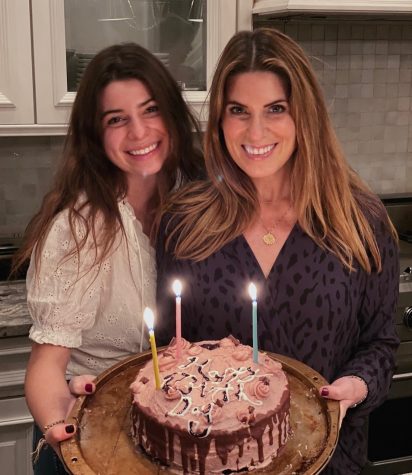
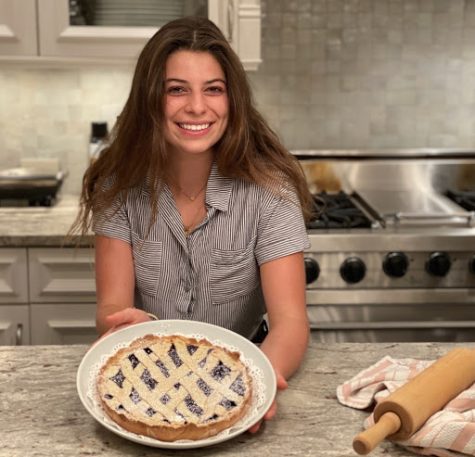
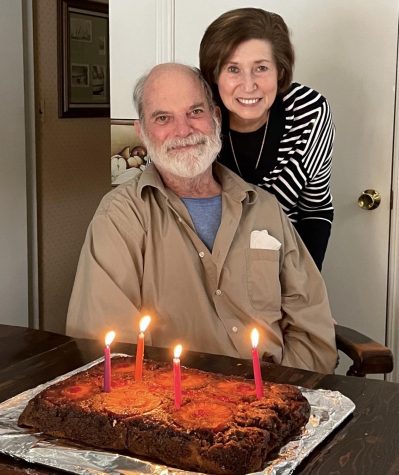 My Grandpa turned 77 years old this week, so I decided to surprise him and make his favorite: pineapple upside down cake. It turned out to be a success. The brown sugar topping was crisp yet chewy, and the pineapple decorations remained intact. The recipe was simple, easy, and quick. The first step of the baking process is melting the butter in the pan, but if you prefer a softer and less crunchy topping, take the pan off the heat before the butter is completely melted to spread it around the pan and its edges. This step evenly spreads the topping to prevent the sugar topping from sticking to the pan when you try to flip it. When placing the pineapple and cherries down on the pan, push them until they touch the pan’s surface, because whatever you see on the bottom of the pan is going to be the top of the cake. Don’t worry if the butter looks a bit burnt after flipping the cake onto a pan. It won’t be burnt if it looks that way; it will just be a bit crunchier in some areas. This recipe advises to add whipped cream on the top of the cake, but I thought the sweet canned pineapples and moist vanilla cake stood well on their own. The final product tasted similar to a fruit cake and was perfect with a cup of tea. My Grandpa loved it, and I would definitely make this again.
For additional homemade whipped cream: For every 1 cup of heavy cream, add 1-2 teaspoons of sugar and gradually increase power on the mixer until soft peaks form.
Keely Moll (22’) is a senior at Latin and writes her own cooking column called “Keely’s Kitchen.” She shares reviews of her favorite recipes and...