


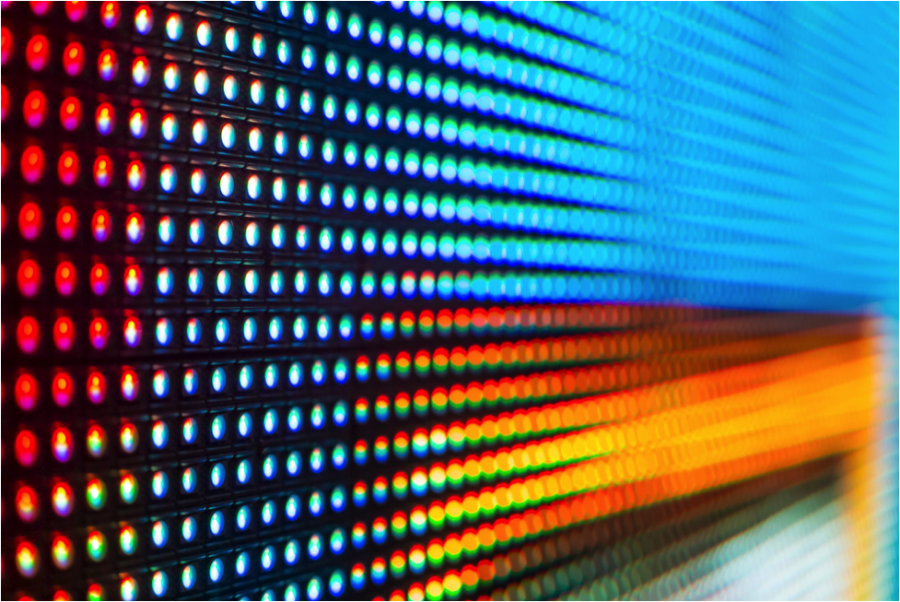
Matthew Shrake The new Learning Commons features many things, all of it brand-new: the servery, the cafe, the two levels of seating, the collaboration rooms, the reading rooms, the bridge, and the computer science rooms. These components and more create what students are looking for: a central location for the high school students of all grades here at Latin to study, eat, and socialize. However, many hidden gems of the Learning Commons go almost unnoticed, as they are not part of our daily lives at Latin. One of these treasures is the LED Wall, just to the east of the quiet space and across the hall from the computer science wing. The LED Wall was created last spring, as it was one of the in-town Project Weeks, led by Mr. Enderle, Mr. Simon, and Mr. Haverland. To find out more information about the project week, I questioned Tushar Patel and Ronil Awalegaonkar, two of the student contributors to the project. What was the original purpose of the LED Wall? Was it always supposed to go in the Learning Commons? TP: From the first meeting for our Project Week, our teachers explained that the LED Wall would be installed in the new Learning Commons, which was not built at the time. They even showed us a blueprint for the 4th floor, with a marked spot for the LED Wall. How did you make the wall? What were the logistics, what materials did you use to make it? RA: We chose that the LED Wall should consist of smaller panels, rather than having it one big screen, so whatever would be displayed would show more color contrast and depth. After tons of trial and error, we settled with half of our panels being Adafruit LED panels, and the other half some off-brand company panels. The other resources that went into the project were the masses of wires and circuitry, along with the use of a laser cutter and 3D printer to design custom parts for the wall. The LED Wall may not seem complicated when facing it from the front, but through the tedious design process, we were able to collect our materials and reach our projected goal of having a functioning LED Wall. What does the wall display now? Is it possible to change what it says? TP: Currently, the wall can mirror anything from the screen of the computer connected to it. Additionally, many of the students on the Project Week programmed specific features for the wall, such as a spinning logo, the current weather, or other interesting graphics. RA: The wall has the ability to maintain a connection with a computer and project anything that is on that computer’s screen, similar to the capacity that our projectors in our classrooms have to AirPlay. However, another part of our Project Week’s goal was not only to build the wall but customize what can be shown on the wall. Therefore, the students were able to code some games to project on the wall, visually appealing pictures or illustrations etc. To change the content of what the LED Wall displays, we are able to use a programming language called “Processing”, which is a development environment capable of making electronic arts and media art. What was the process of making the wall? What were the educational elements of the project? TP: We learned how to code the LED wall on a language called “Processing”. We started with tiny LED panels, with only 64 pixels, where we made code to change the visuals. Once we had become familiar with the language, we started to create more complex programs that could be used with the larger wall. RA: There were many educational elements that we learned on the fly, as the process of making the wall was experiential and hands-on. One important tool we used in the creation of the wall was a programming language, that we coded in, named “Processing”. Each person had the opportunity to make a game/personal project that would eventually be able to project up onto the wall. Another element that was a focal point to our project was physically building the wall. To operate the wall and make sure the connections to every port were okay, we went through educating ourselves on the ways to build such a complicated project that includes circuitry, wire management, etc. We broke each step into smaller goals, and we were able to apply our knowledge of what we learned throughout the week to our LED Wall.]]>